Inbox Configuration
with Labels
Organize the Gmail inbox efficiently using labels and filters. This setup allows for better classification of emails from teachers, classmates, and general school notifications, ensuring no important information is missed.
Implementation Steps
Accessing Settings
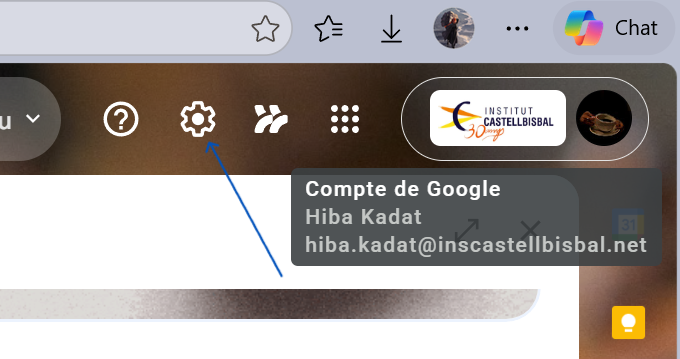
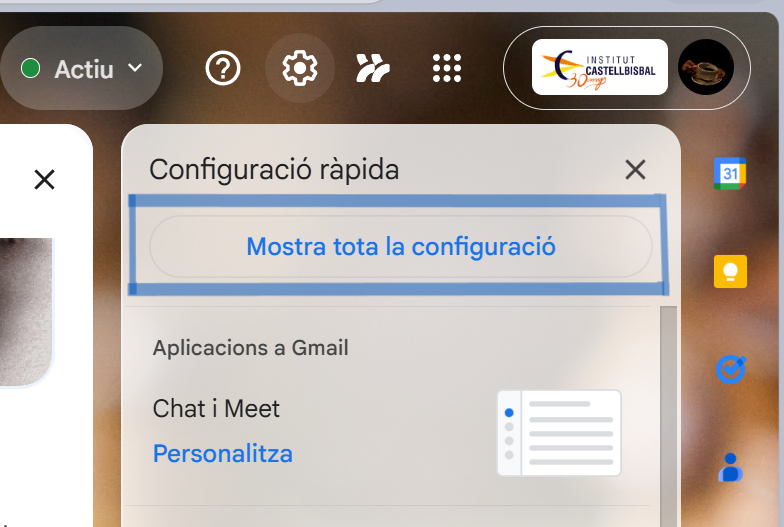
Log into your email account via the browser. Click on the Settings (gear icon) in the top right corner and select “See all settings”.
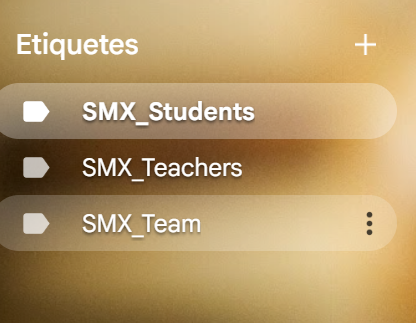
Creating New Labels
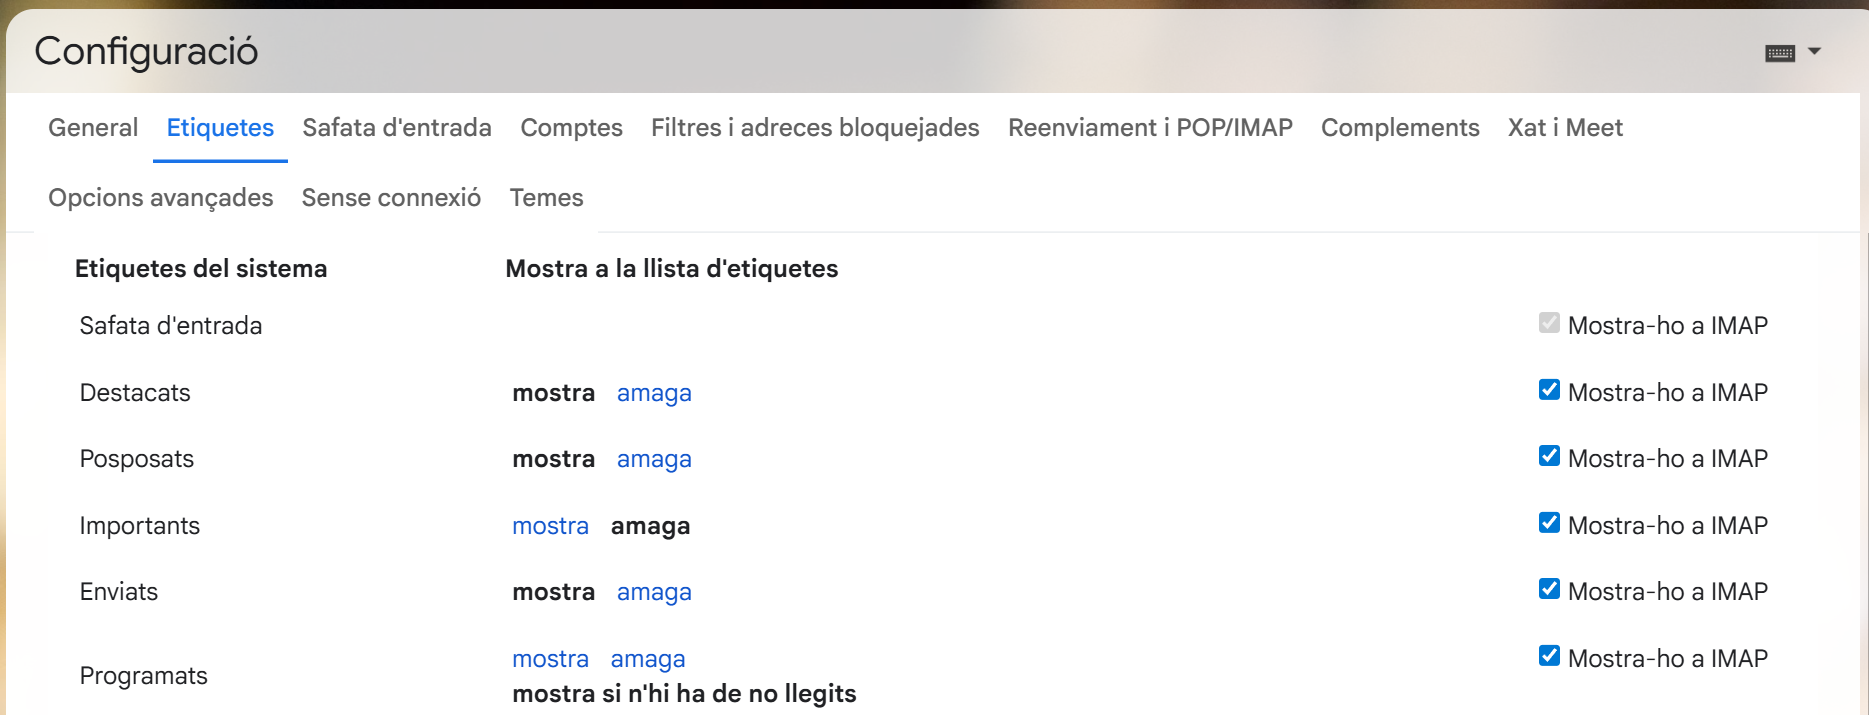
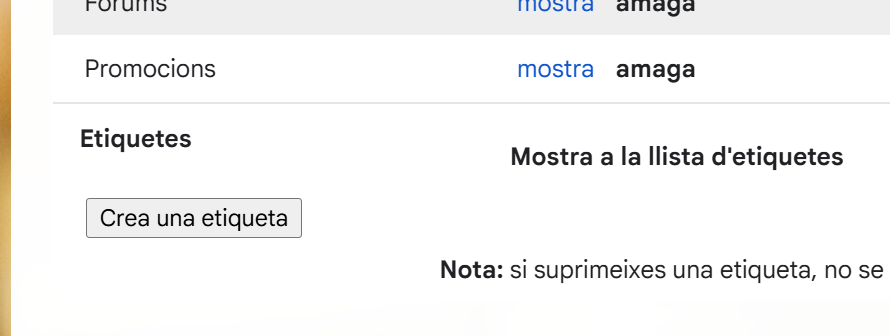
Navigate to the “Labels” tab. Scroll down and click “Create new label”. The following labels were created to categorize school communication:
Setting Up Automatic Filters
To automate the organization, configure filters. Go to the “Filters and Blocked Addresses” tab and click “Create a new filter”. Enter the specific email addresses for teachers or classmates, then select the action “Apply the label” to sort incoming mail automatically.
Labels & Logic Summary
| Label Name | Filter Criteria (Sender / Keyword) | Visual Category |
|---|---|---|
| SMX_Teachers | @ins.cat / Teacher names | 🔴 High Priority |
| SMX_Students | Class mailing list | 🔵 General |
| SMX_Team | Specific project partners | 🟢 Internal |
Conclusion
By applying these labels and filters, the inbox remains clear and organized. Emails are automatically categorized upon arrival, reducing the time spent searching for specific course materials or communications.